REVIEW · MALIBU
Malibu: Electric-Assisted Mountain Bike Tour
Book on GetYourGuide →Operated by Rock n Rope Adventures · Bookable on GetYourGuide
Electric bikes make Malibu feel effortless. This Malibu: Electric-Assisted Mountain Bike Tour turns the Santa Monica Mountains into a ride you can actually enjoy, not just survive. You’ll be on high-performance Giant full-suspension electric-assist bikes with Smart Assist, plus a guide who helps you get control fast and keep moving at your pace.
I especially like two things: the mix of real trail riding (not just a paved spin) and the way Smart Assist lets you dial the effort up or down. That means you can choose a smoother cruise or a bigger workout without the ride falling apart when your legs get tired.
One thing to consider: this route can include loose rock, gravel, winding single tracks, and up-and-down sections, so you’ll want at least basic bike comfort—and you must meet the 5-foot minimum height.
In This Review
- Key things I’d book this for
- Starting at the Yellow FJ Cruiser: getting set up right
- 150 minutes of Smart Assist: how the e-bike changes the trail
- The Santa Monica Mountains ride plan: creeks, climbs, and wide-open views
- Terrain options you can tailor: fire roads to single track
- Viewpoint breaks over Malibu: what you get besides photos
- Handling, safety, and coaching: what makes the ride work
- Who this tour fits (and who should skip it)
- Is $199 worth it? Value for 150 minutes in Malibu
- What to bring and what the weather can do
- Should you book this Malibu electric mountain bike tour?
Key things I’d book this for
- Giant full-suspension electric-assist bikes that help you handle steep or technical moments without feeling helpless
- Smart Assist control so you can adjust effort as the trail changes
- Guided technique coaching, including how to maneuver the bike with confidence
- Scenic breaks around Malibu coastline views, with enough time to actually look up and enjoy
- Terrain choices from mellow fire roads to more challenging mountain trails
- Small groups (max 5), which keeps instruction practical instead of rushed
Starting at the Yellow FJ Cruiser: getting set up right
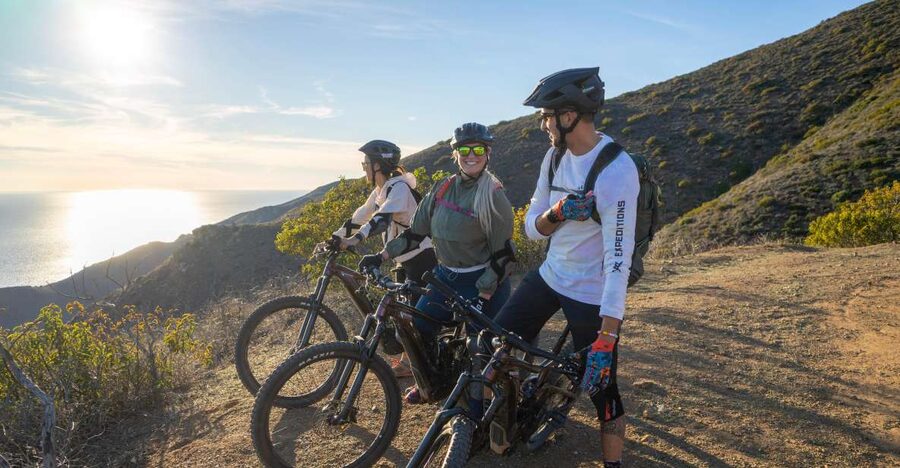
Your tour begins in a parking lot area marked by a yellow FJ cruiser. The directions are pretty clear: enter the campground, go left after the camping booth toward the day-use area, and park with the help of the machine by displaying your ticket on the dashboard. It’s the kind of meeting point that saves time, because you’re not hunting for a storefront or a vague sign.
Before you roll, expect hands-on help with the bike and basic mountain biking technique. You’re not thrown onto single track immediately. The goal is to get you comfortable with how these e-bikes feel under you—especially because full-suspension bikes respond differently than a hardtail or a street bike.
Also plan for a quick gear reality check. Helmet, knee and elbow pads, and gloves are included, but you should still bring your own comfort items: sunglasses, sunscreen, long-sleeved shirt, long pants, closed-toe shoes, and something to snack on. Food and drinks are not included, so having a plan for water matters.
150 minutes of Smart Assist: how the e-bike changes the trail
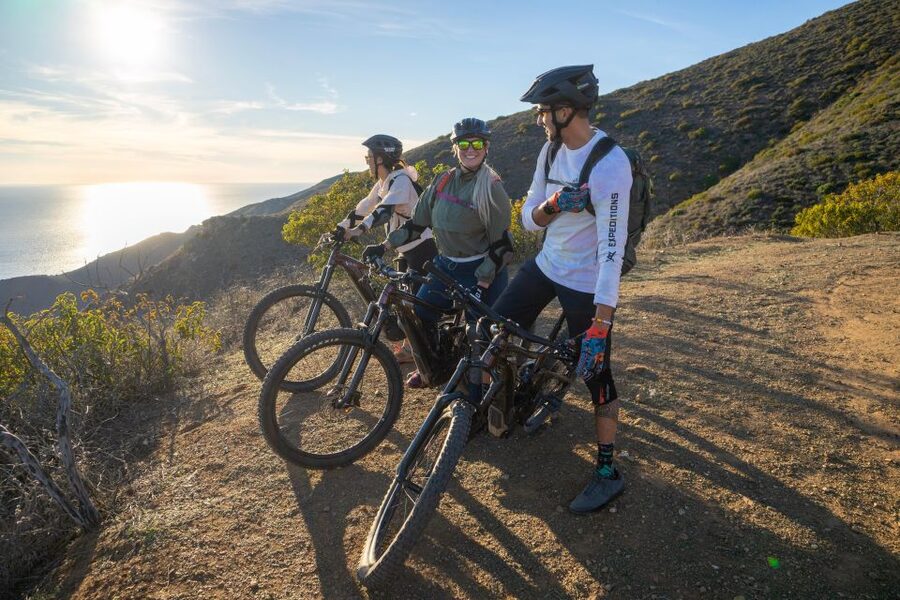
This ride is 150 minutes long, so it’s long enough to feel like an actual mountain adventure, but not so long that your attention or energy disappears. The electric assist is the heart of it. Bikes use Smart Assist technology, and you can adjust the assistance level to suit your legs and comfort.
Here’s how that plays out on the trail: when you hit a climb or a technical bit, you can switch to more help so you keep traction and control. When you feel good, you can reduce assistance for a more workout-y ride. It’s not just about speed—it’s about keeping your balance while you’re changing effort and terrain.
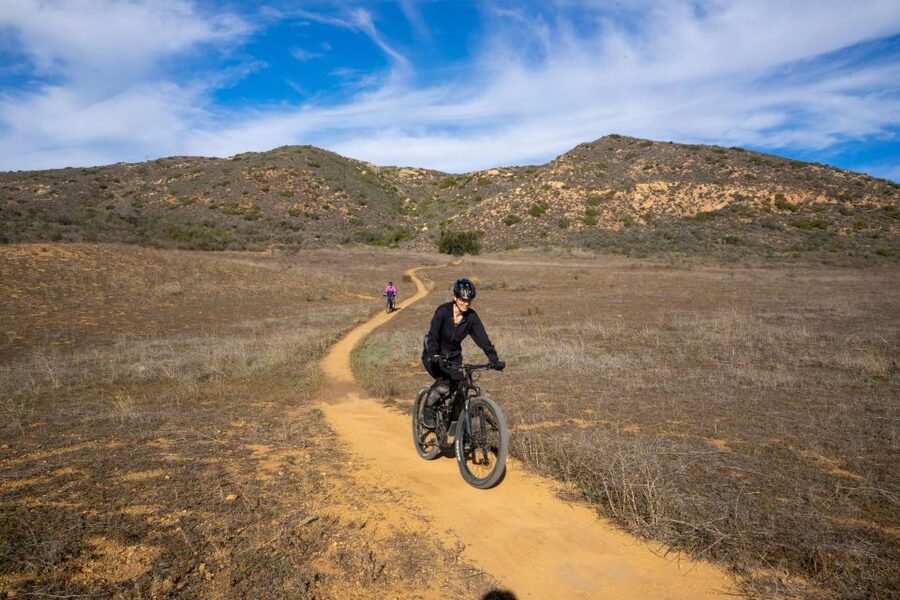
The tour also makes clear that you may deal with real trail surfaces: loose rock, gravel, and winding single tracks, plus both uphill and downhill stretches. That’s why rider guidance matters. The bike can help with power, but it won’t replace basic handling skills. If you’re new to mountain bikes, the coaching is there to help you get comfortable fast.
The Santa Monica Mountains ride plan: creeks, climbs, and wide-open views
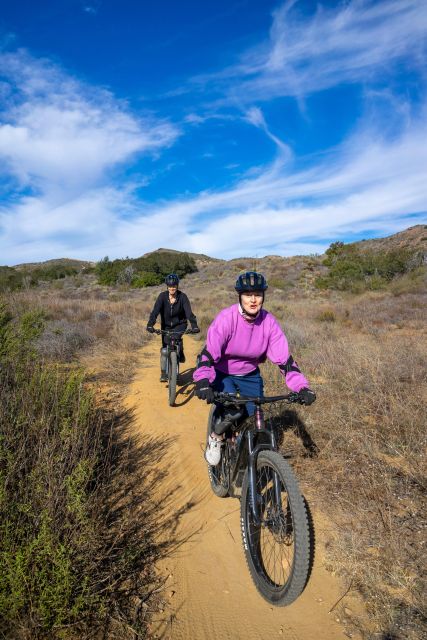
You’ll be doing a loop ride, meaning you return to the starting point when the tour ends. That’s a big deal in Malibu where getting back can be its own mini-quest. A loop also helps you experience the terrain variety without having to worry about navigation or traffic.
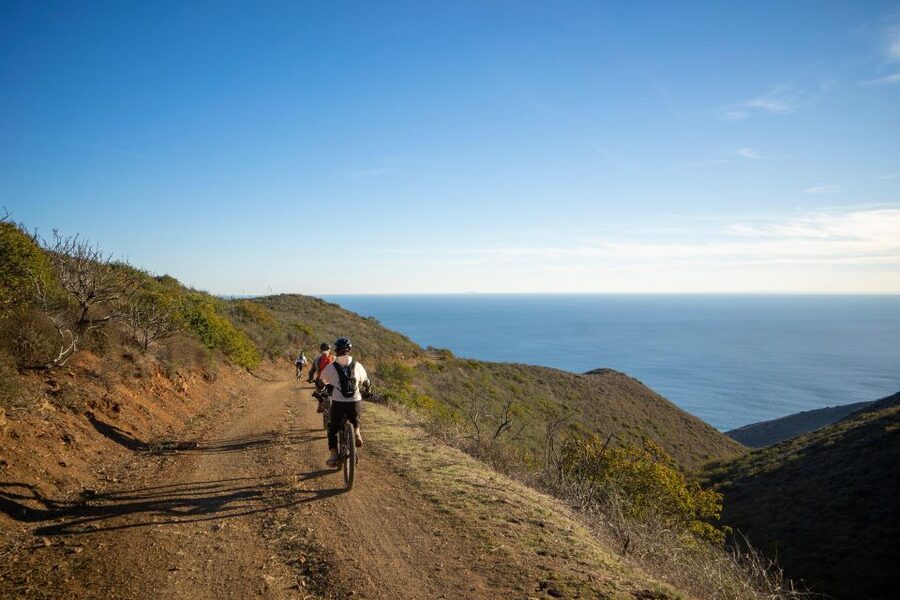
The route can shift depending on conditions and your group’s chosen terrain options, but the ride profile is consistent: start with technique and easy-to-manage sections, then move toward more dramatic scenery. One guide-led highlight includes crossing creeks at the base of Sycamore Canyon, followed by climbing to panoramic views in multiple directions. If you’re chasing that moment when the coast spreads out below you, this part of the ride is built for it.
As you climb, the assist helps you stay seated and smooth instead of bouncing around in panic. As you descend, you’ll rely on what the guide teaches: body position, braking habits, and line choices for winding terrain. You can treat the downhills as controlled fun rather than something that tests your survival skills.
And those viewpoints matter. The tour includes breaks at picturesque locations so you can actually take in the Malibu coastline and surrounding natural scenery instead of just snapping a photo while coasting downhill.
Terrain options you can tailor: fire roads to single track
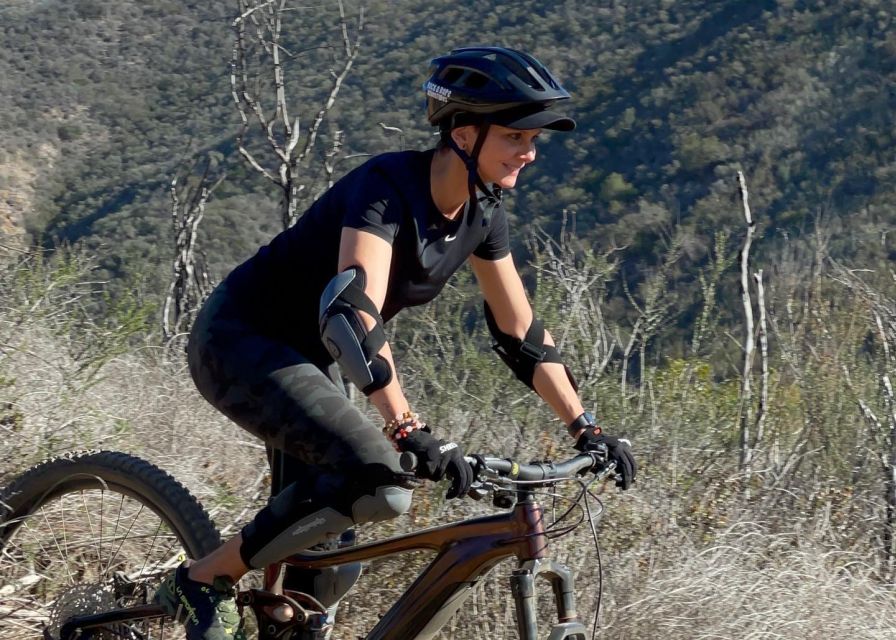
One of the nicest parts of this tour is the ability to match the trail to your group. You can select from mellow fire roads to challenging single trails that lead toward mountain peaks. That isn’t a small detail. It means the ride can fit mixed ability levels without turning into a group slowdown or a group scramble.
Fire roads are the “build confidence” option. They’re generally easier to read, and they let you test your comfort with the bike’s braking and how Smart Assist feels over longer grades. Single track is where the ride turns more technical—more balance work, more turns, and often more attention to where your tires land on uneven surfaces.
Your guide can adjust on the fly, especially with a small group. If you want the more scenic, tougher option, you’ll have that opportunity. If you’d rather keep it manageable and focus on views, you can do that too.
Keep in mind the route can include loose rock and gravel. That’s not automatically scary, but it does mean you should ride with control, not with ego. The point is to finish feeling proud, not shaken.
Viewpoint breaks over Malibu: what you get besides photos
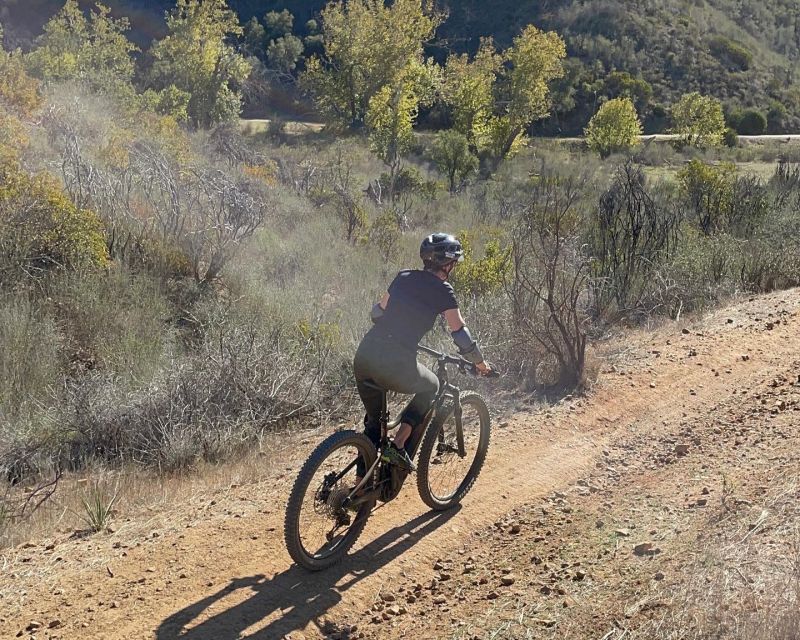
The best part of Malibu biking is the sense of altitude plus the proximity to the ocean. This tour uses that mix well by scheduling breaks at viewpoints where you can look out over the coastline and feel like you’re seeing LA from a different angle. It’s a fresh perspective, and it changes how the whole area feels—from city distance to mountain closeness.
During breaks, you’ll get a moment to breathe and reset. That helps especially if you reduced your assist on the climbs and worked harder than expected. You can also use the stop time to ask questions about technique for whatever comes next, which makes the rest of the ride smoother.
Try not to rush the viewpoint part. The scenery is the payoff. You’re paying for trail time plus the permission to stop, look, and absorb.
Handling, safety, and coaching: what makes the ride work
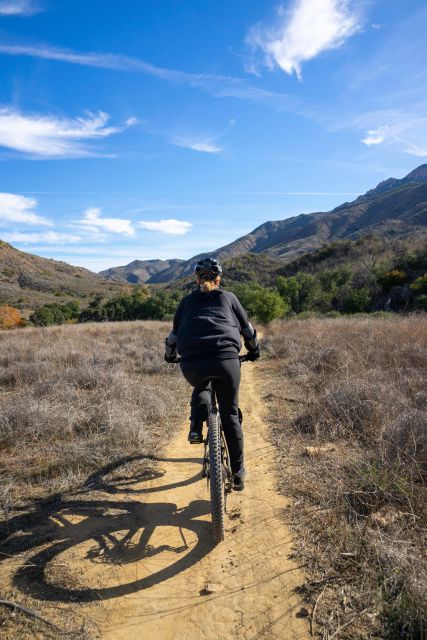
This is a guided tour designed to accommodate all skill levels, but it still requires a baseline comfort on a bike. The guide handles technique, and that’s where the experience becomes more than just renting an e-bike and hoping.
A helpful example from past riders: the guide Roger is described as a seasoned professional who makes it easy to grasp how to maneuver the bike. The ride started with trail sections that included creek crossings at the base of Sycamore Canyon, then shifted into climbing for big views. That kind of progression matters for first-timers, because it builds confidence before the trail gets more demanding.
You’ll also be protected. Helmet, knee pads, elbow pads, and gloves come included. You’ll want them on, obviously, but they also help you ride with less mental friction. When you feel safer, you tend to focus better on technique—turning becomes smoother, braking becomes more deliberate, and you waste less energy.
One practical tip: wear your long pants and long-sleeved shirt even if you think it’ll be hot. Trail rides can have sun and wind at the same time, and you’ll also be brushing past plants on narrower sections.
Who this tour fits (and who should skip it)
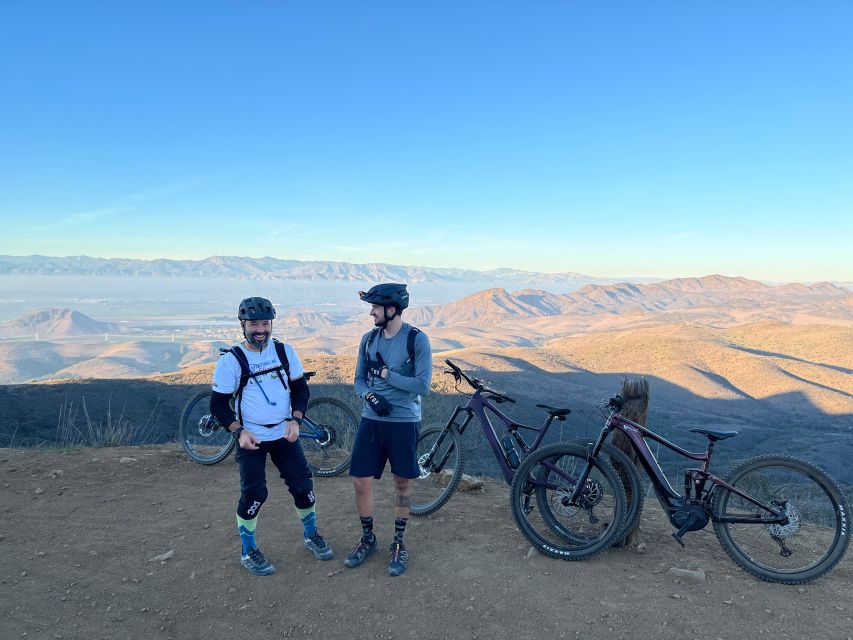
This tour is suitable for all ability levels, but it’s not for everyone. You should know how to ride a bike at a basic level before you show up. If you’re entirely new to riding or you’re uncomfortable balancing on uneven ground, you might struggle more than the guidance can solve.
Height matters too. There’s a minimum rider height of 5 feet (150 cm). The activity is not suitable for wheelchair users, and it’s not suitable for pregnant women. If you’re under 4 ft 9 in (150 cm), you can’t participate.
For me, the best fit is clear:
- You want real trails and coast views, not just a casual bike path
- You’re either new-ish to mountain biking or you want expert help on control and line choice
- Your group has mixed fitness levels, and you want everyone riding together without one person getting left behind
If you’re looking for purely leisurely pacing with no gravel or technical sections, you might find parts of the route more active than you expected.
Is $199 worth it? Value for 150 minutes in Malibu
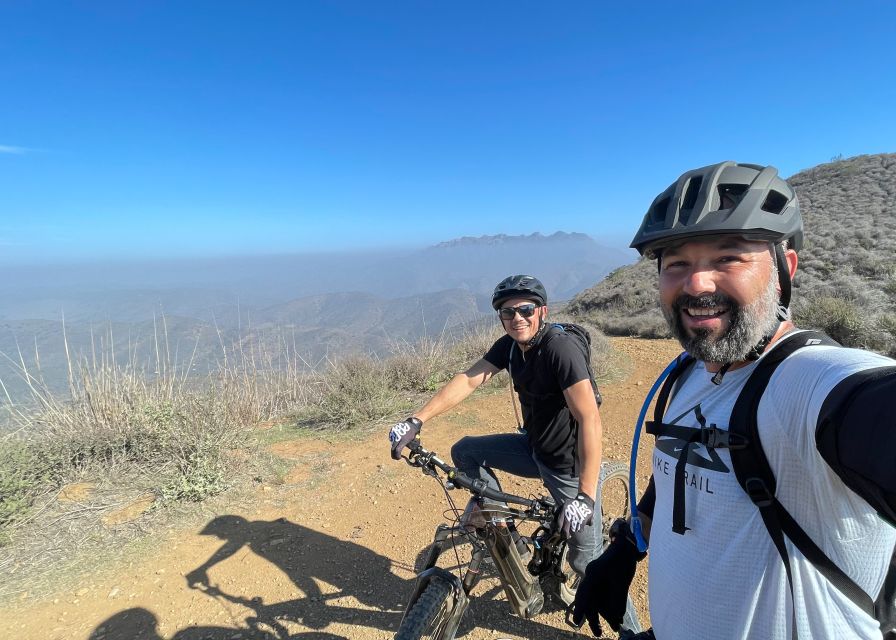
At $199 per person for 150 minutes, this isn’t a bargain-bin activity—but it also doesn’t pretend to be. For that price, you get the guided trail experience through the Santa Monica Mountains plus the key setup gear and bike rental.
What pushes this toward good value:
- You’re paying for expert guidance that teaches technique, not just a rental handoff
- You get the full electric-assist Giant full-suspension experience
- You get safety gear included (helmet, knee and elbow pads, gloves)
- You get small-group riding with a max of 5 participants, which tends to make coaching more useful
What keeps it from being “cheap and easy”:
- Food and drinks aren’t included, so you’ll need snacks and water
- Rain or shine means you can’t rely on weather to make it easier or more comfortable
If you compare it to the cost of renting a quality bike, buying gear, and paying for a guide separately, the bundle starts to look more sensible. In Malibu, you’re also paying for the combination of mountain trail access and those high-reward coastline viewpoint breaks.
What to bring and what the weather can do
This tour runs rain or shine, so plan like it might get damp or slippery. Bring:
- Sunglasses
- Snacks
- Sunscreen
- Water
- Long-sleeved shirt
- Long pants
- Closed-toe shoes
Closed-toe shoes are not a throwaway detail. Uneven trail surfaces can be unforgiving if your footing is unstable. On gravel and loose rock sections, you’ll want shoes that feel secure.
If you’re the type who gets sunburned easily, sunscreen is a must even if the air feels cool at the start. Malibu rides can surprise you once the sun hits and you start moving.
Should you book this Malibu electric mountain bike tour?
Book it if you want a guided mountain ride with real views, and you like the idea of controlling effort with Smart Assist. The small group size and coaching make it a strong choice for first-timers who want to learn instead of guessing.
Skip it if you don’t meet the 5-foot minimum height, you’re not comfortable riding a bike at a basic level, or your group expects only easy terrain with zero technical surfaces. Also think twice if you need wheelchair access or if pregnancy or other medical needs make uneven trail riding a no-go.
If you’re ready to ride the Santa Monica Mountains from a fresh perspective—creeks, climbs, and coastline viewpoints—this is a solid way to spend 150 minutes in Malibu.