REVIEW · MAPUA
Nelson: Self-Guided Tunnel to Town Cycling Tour via Mapua
Book on GetYourGuide →Operated by Kiwi Journeys · Bookable on GetYourGuide
One tunnel lengthens your cycling day in a big way. This self-guided ride uses the new 5-kilometer trail link into Wakefield for a long, varied day of scenery, paddocks, and tastings. I especially love the chance to pedal through Spooner’s Tunnel and the clear, practical trail map + signage that keeps you on track.
The other thing I like a lot is how the route mixes nature with food stops: lunch at Grape Escape Café, a winery tasting at Richmond Plains/Te-Mania, and berry ice cream. One thing to consider: some sections can feel rougher than expected, and the route includes moments where you’ll walk your bike over a busy road and share narrower dusty lanes with fast-moving vehicles.
In This Review
- Key Things to Know Before You Ride
- The Big Draw: Spooner’s Tunnel, Rail-Trail Cycling, and Real Stops
- Getting Started in Nelson: Bike Fit, Briefing, and a Quick Shuttle Out
- Pedaling Through Spooner’s Tunnel and Toward Richmond: The Nature Meets Engineering Part
- Lunch at Grape Escape Café, Then Te-Mania at Richmond Plains: How the Day Gets Its Flavor
- Richmond to Mapua: The Waimea Estuary Boardwalks, Birdlife, and Swing Bridge Views
- Rabbit Island and the Ferry: Beach Time and Landing in Mapua Wharf
- Bike Choice and Real-World Comfort: Comfort Bikes, Lights, and When E-Bikes Help
- What It Costs, and Whether It Feels Like Value
- Practical Tips That Make This Day Go Smoothly
- Who Should Book This Ride (and Who Might Skip It)
- Should You Book the Nelson to Mapua Tunnel-and-Town Cycling Tour?
- FAQ
- Where is the meeting point?
- What time does the tour start?
- How long is the cycling day?
- Is this tour guided by a person while you ride?
- What’s included with the bike and how do I get to the tunnel?
- Are food, tastings, and alcohol included?
Key Things to Know Before You Ride
- Spooner’s Tunnel (1352 meters) is the day’s headline, and it’s built for cyclists on an old rail corridor
- Waimea Estuary coastal boardwalks give you easy viewing time without constantly climbing or sprinting
- Richmond food and wine stops are built into the route rhythm, so you’re not hunting for them
- Waimea Swing Bridge + Rabbit Island add variety beyond vineyards and farmland
- Mapua Ferry crossing breaks up the last stretch, then you land right by shops and galleries
- Self-guided format means you’ll rely on the provided map and your timing, not a live guide
The Big Draw: Spooner’s Tunnel, Rail-Trail Cycling, and Real Stops
This is a full-day cycle that feels like two mini-adventures stitched together. The early segment leans into the dramatic engineering of the former rail line, then the second half shifts toward the estuary, beaches, and Mapua’s waterfront scene.
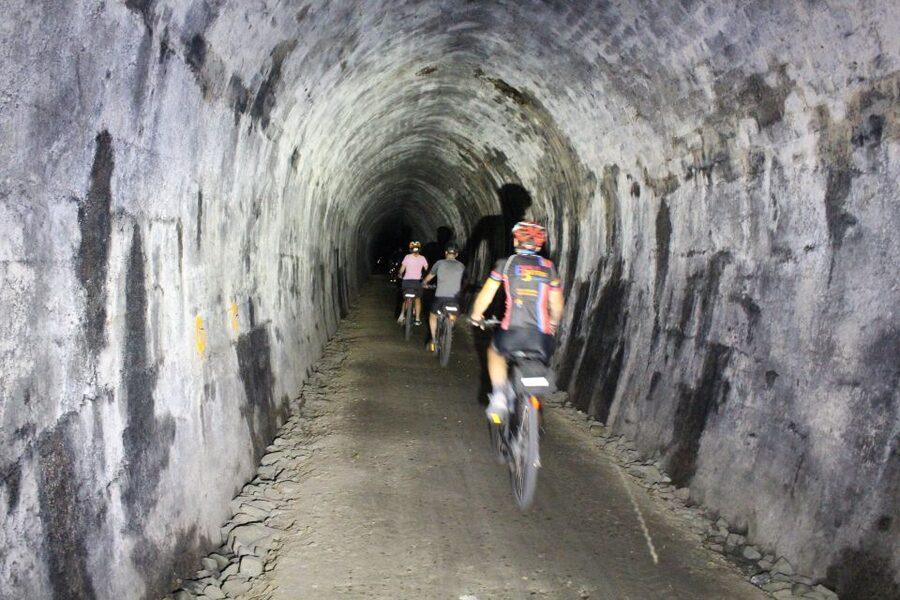
What makes Spooner’s Tunnel such a strong highlight is scale and purpose. You’re cycling through a 1352-meter tunnel route open to cyclists—on an old, purpose-built corridor—so it feels like you’re traveling through history without sacrificing motion. And the fact that your route connects via a newly released 5-kilometer section trail into Wakefield means the overall day feels longer and more complete than a short shuttle-and-ride loop.
I also like that this tour is built for adults who want to manage their own pace. You start in Nelson at 8:35 AM, get fitted and briefed, then you’re off on a guided-by-map adventure. It’s liberating in a good way: stop when you want, keep going when you don’t.
The one drawback to keep in your head: it’s not a smooth “cycle path all day” guarantee. Even with excellent directions, you may hit sections described as more rugged than expected, plus a busy road bike-walk and narrow dusty roads where you share space with commercial vehicles.
Getting Started in Nelson: Bike Fit, Briefing, and a Quick Shuttle Out
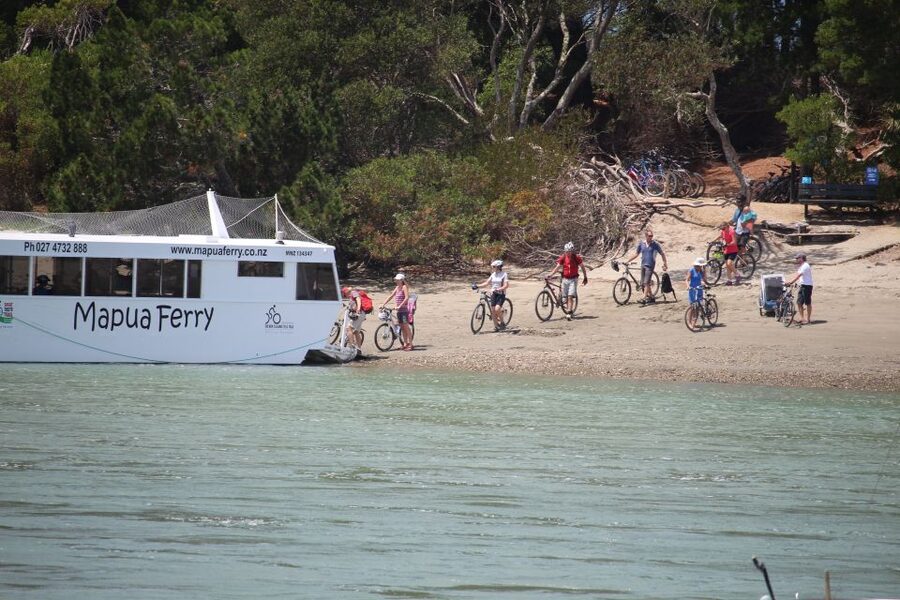
You meet beside the Nelson i-SITE Visitor Information Center and roll out at 8:35 AM. The provider fits you for your bike and gives a briefing, then you board trail transport by road to escape the city and reach Spooner’s Tunnel.
The shuttle time is about 45 minutes, so you’re not losing half the day sitting around. On the ride out, you’ll get useful trail tips, including where you can grab food and beverages along the way. That matters because this is not a guided ride once you start cycling. Good pre-ride guidance helps you spend more time riding and less time second-guessing where to turn.
Also pay attention to what they hand you: you’ll have an odometer and a trail map, plus a repair kit and panniers or a carrier bag. That combination is what turns a self-guided tour from stressful into doable—especially if it’s your first rail-trail day.
Pedaling Through Spooner’s Tunnel and Toward Richmond: The Nature Meets Engineering Part
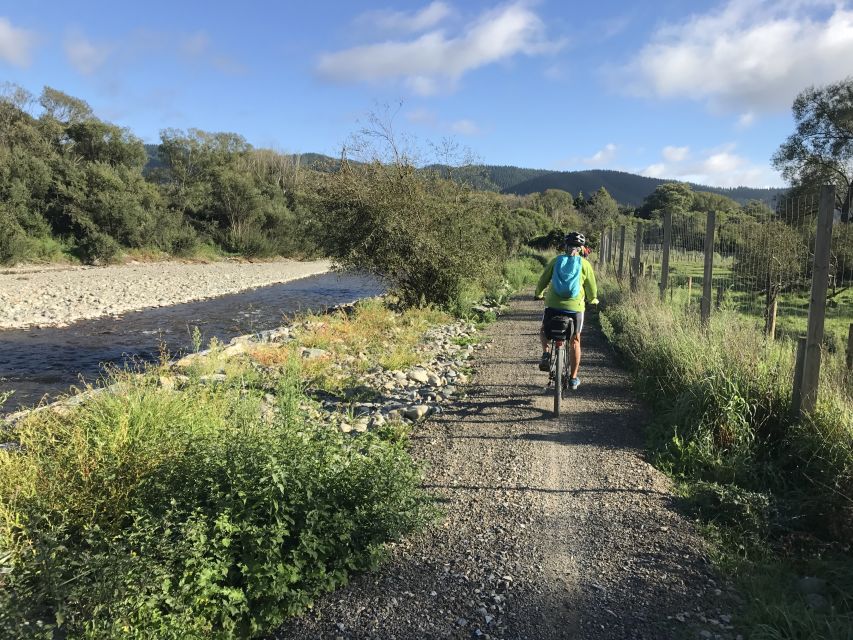
After the shuttle, the ride begins with a stretch that follows the old rail corridor. The day’s signature moment is the long tunnel crossing—1352 meters—and then the trail opens up into the kind of countryside New Zealand does well: farmland, native forest patches, rivers, and bridges.
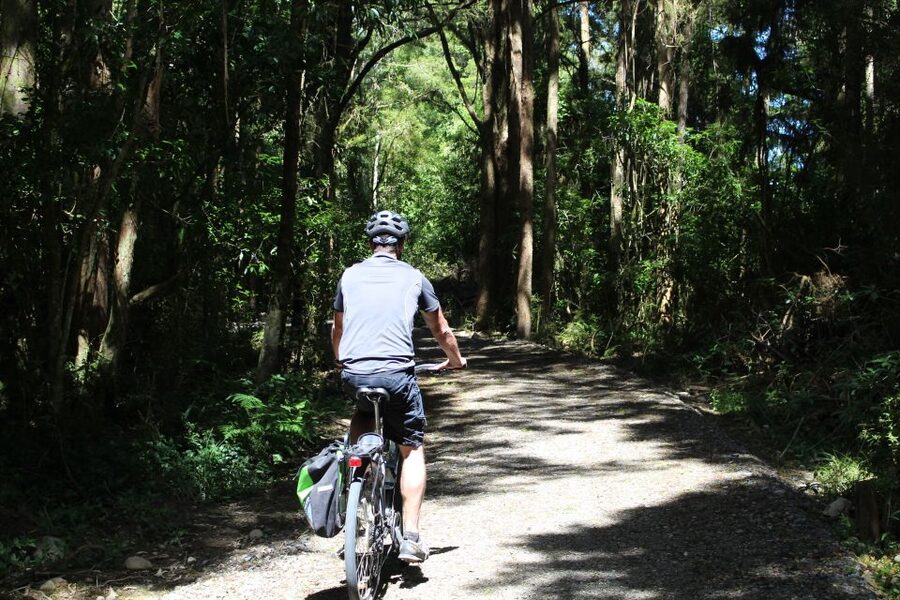
Here’s what makes the corridor ride satisfying instead of repetitive. You’re not just coasting in one flat direction. The route is described as passing through farmland and pristine native forests, following rivers, and including swing-bridges. That means your attention stays engaged because the scenery changes and the trail profile has its own rhythm.
From there, you cycle into Richmond. This part of the route matters because it sets the mood for the rest of the day. If you go out too hard at the start, you’ll feel it later when you’re hungry and still have Mapua to reach. A steadier effort makes the food stops feel like part of the ride, not a rescue mission.
One practical consideration: signage and the supplied map are described as excellent, which is a big deal on a self-guided day. Still, the route can include rugged tracks and dusty segments. Keep your eyes up for the “shared road” moments—especially the part where you may need to walk your bike over a busy road.
Lunch at Grape Escape Café, Then Te-Mania at Richmond Plains: How the Day Gets Its Flavor
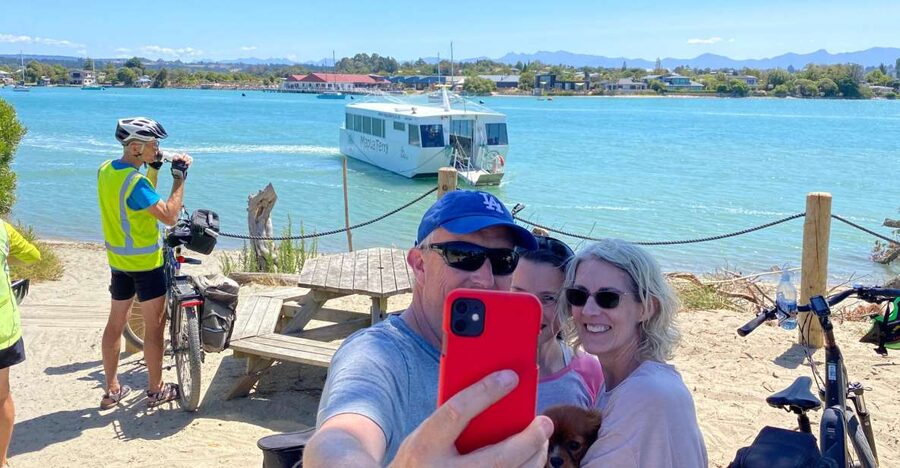
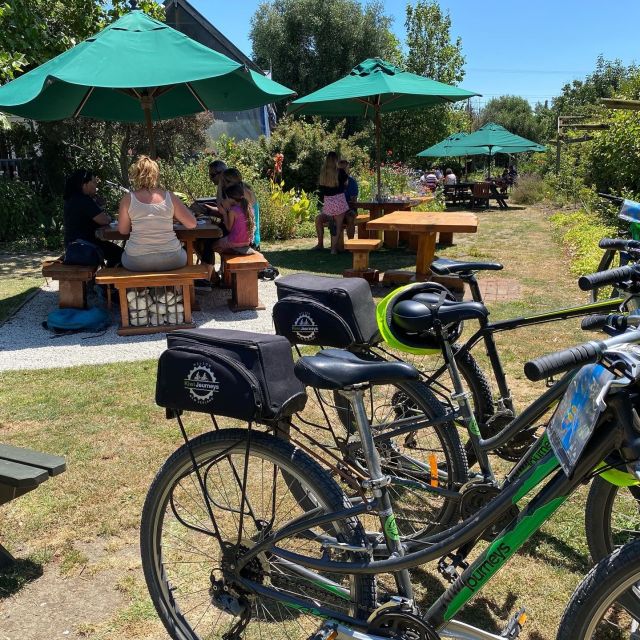
Once you reach Richmond, the tour builds in a lunch stop at Grape Escape Café. Food is available at your own cost, so you’re not locked into a set menu. That flexibility is handy because cyclists often want simple fuel—something quick, something filling, and something that won’t sit heavy on the final legs.
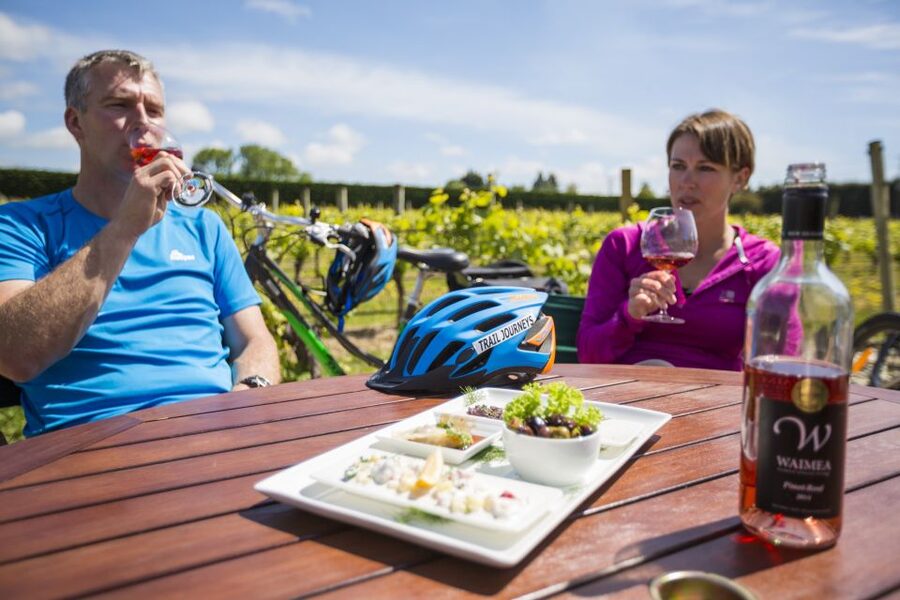
Then comes a tasting at Richmond Plains / Te-Mania winery. Tastings aren’t included, so you’ll pay separately. I like this structure because it prevents the day from feeling like a rushed bar-hopping schedule. You’re cycling for hours, then you get a clear reason to slow down and enjoy local products with a planned stop.
If you’re thinking about pacing, this is the checkpoint to get it right. Stop too long and you’ll feel rushed later. Stop just right and you’ll ride out refreshed.
After the winery, there’s real fruit ice cream made from local berries. This small detail matters more than it sounds. It’s the kind of treat that keeps the day feeling special without turning the whole itinerary into an all-food crawl.
Richmond to Mapua: The Waimea Estuary Boardwalks, Birdlife, and Swing Bridge Views
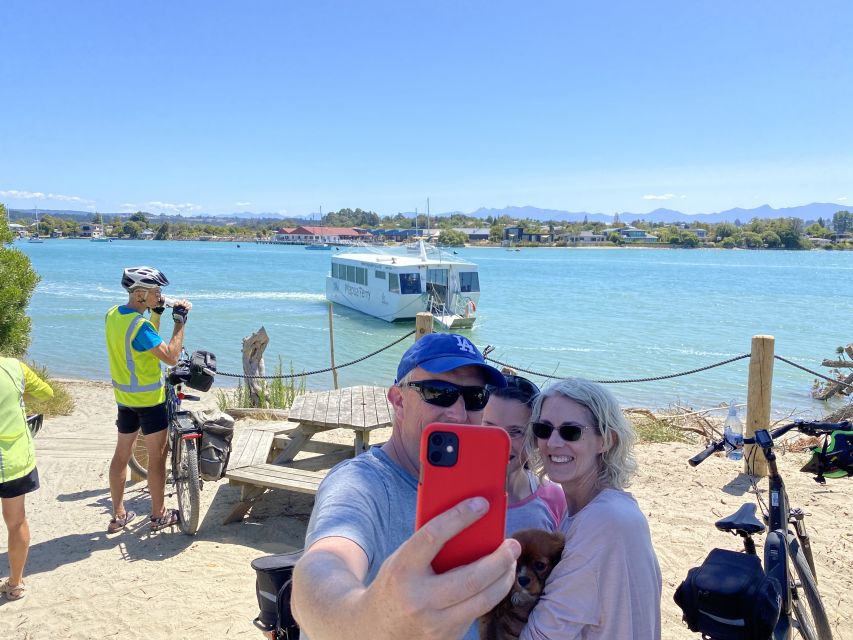
From Richmond, Mapua is about 15 kilometers. That’s a helpful distance to know because it’s close enough to be a challenge for slower riders, but not so long that you’re spending the entire day thinking about mileage.
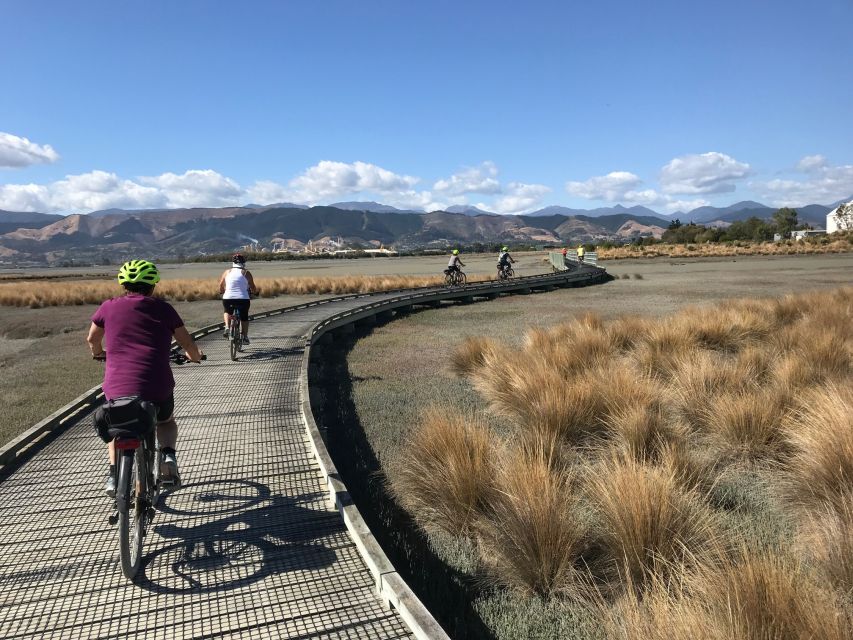
The route follows coastal boardwalks of the Waimea Estuary. This is where the ride shifts from rail-corridor wonder to open-water calm. Boardwalk sections are also a mental breather: the views do the work for you, and you don’t have to problem-solve terrain as much.
You may also spot native bird species, including the kotuku (white heron). That’s not something you can schedule, but it’s a great reason to slow down and look for movement near the edges of the estuary and along the more open stretches.
Then you’ll cross the Waimea Swing Bridge. Bridges are always great photo moments, but in this case it’s also a physical pause: you’ll tighten up your focus as you cross, and then you’ll get a new angle on the estuary before continuing.
Rabbit Island and the Ferry: Beach Time and Landing in Mapua Wharf
After the swing bridge, the route heads toward Rabbit Island. The tour description gives you time to explore the white sandy beaches and—if conditions are right—take a dip in warm sea water. Even a short stop here changes the whole feel of the day. You’ve been cycling through rural and estuary scenery; a beach break gives you a real reset.
Next up is the Mapua Ferry crossing. This is one of those parts of a good cycle day that feels like a reward. The ride is continuous enough to keep your legs happy, but the ferry shifts you mentally and physically. Then you land at Mapua Wharf with the waterfront right there.
Mapua Wharf is where you get the built-in “town payoff.” You can explore galleries, studios, restaurants, cafes, shops, and the Golden Bear Boutique Brewery. The word to remember here is active. You’re not arriving at a dead-end viewpoint—you’re arriving somewhere people actually hang out.
From Mapua Wharf, you take the Trail Hopper transfer back to Nelson.
Bike Choice and Real-World Comfort: Comfort Bikes, Lights, and When E-Bikes Help
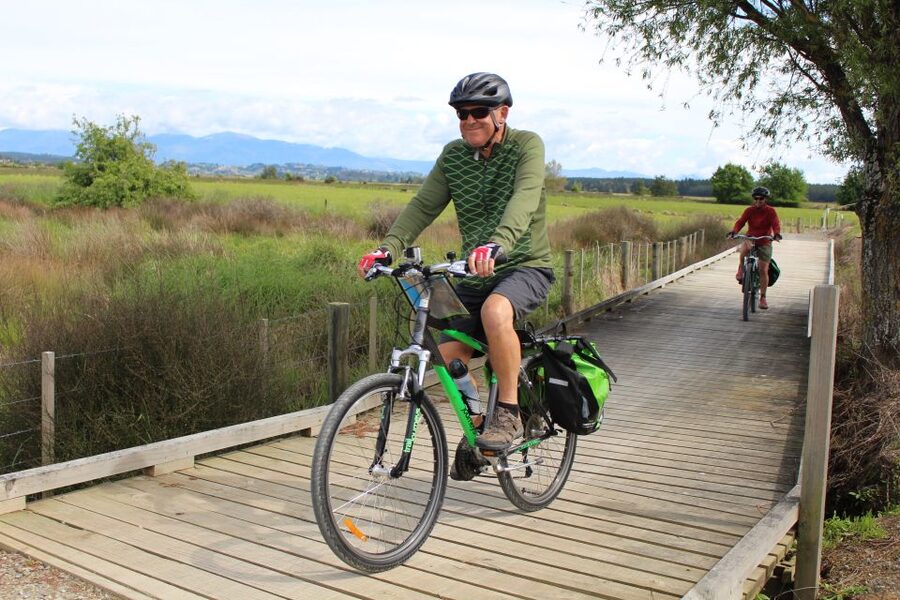
Included bike gear is practical: a comfort bike, helmet, light, repair kit, panniers or carrier bag, an odometer, and the trail map. That’s a solid package for a self-guided tour because you’re not relying on guesswork for basic safety and navigation.
One review point that’s useful: people strongly recommended e-bikes after trying them alongside regular bikes. The catch is also real—if your group has a mix of e-bikes and regular bikes, the slower riders can end up dictating the rhythm. If you’re cycling with family or friends, think about whether everyone wants an even group pace or whether you prefer to spread out a bit and meet later at stops.
If you’re a strong rider and you want to keep the day moving, regular bikes can work fine. If you’re more cautious about distance or you’re planning lots of breaks, e-bikes can reduce stress and help you keep the fun parts on schedule.
What It Costs, and Whether It Feels Like Value
The price is $93 per person for a 9-hour experience. That includes much of what normally adds up: the cycling equipment, the shuttle between Nelson and Spooner’s Tunnel, the Mapua Ferry crossing, the transfer back from Mapua Wharf to Nelson, water bottles, plus the trail map and odometer.
Food, tastings, and alcoholic drinks are not included. In other words, you’re paying for the ride, the transport pieces that make the logistics easy, and the equipment. Then you handle your own spending at the cafés and wineries.
For value, that trade-off makes sense if you want control over what you eat and how much you taste. The day has planned stops (lunch at Grape Escape Café, tasting at Richmond Plains / Te-Mania, berry ice cream), so you’re not forced into one spending path. You can keep costs moderate by choosing lighter snacks or stretching your tasting budget.
Practical Tips That Make This Day Go Smoothly
This tour is self-guided, so your success depends on timing, comfort, and readiness. Here are the things I’d prioritize before you roll.
1) Start with the right clothing
Bring comfortable clothes and shoes. A windbreaker helps because estuary air can feel cooler than you expect. Sunscreen and sunglasses are smart on the boardwalk and beach sections.
2) Plan your food stops like a cyclist
You’ll want time for lunch, a tasting, and snacks, but you’ll also want energy for the late ride into Mapua and the beach break. If you linger too long, the day can sneak up on you.
3) Respect the route edges
One caution from rider feedback: some tracks can be rougher than described, and there’s a busy road bike-walk plus narrow dusty roads with fast commercial vehicles. Slow down where visibility feels tight. Don’t assume every segment is a calm, separated path.
4) Pack light
You can’t bring luggage or large bags. Use the panniers or carrier bag they provide, and keep personal items minimal.
Who Should Book This Ride (and Who Might Skip It)
This self-guided cycle is a great fit for people who want a structured day with freedom built in. It works especially well if you enjoy rail-trail-style riding, like the mix of rivers, farmland, and forests, and you want food stops that feel earned rather than shoved into your schedule.
It’s also a good choice if you’re comfortable taking direction from signage and a trail map. The provided setup is designed for this.
The biggest “not for me” factor: the route isn’t recommended for limited mobility, and it’s not suitable for people with mobility impairments. And because parts can be rugged, dusty, and include bike-walking over a busy road, the day is best when you can handle varied trail surfaces.
Should You Book the Nelson to Mapua Tunnel-and-Town Cycling Tour?
If you want one memorable cycling day that combines Spooner’s Tunnel, estuary boardwalk views, a swing bridge, beach time on Rabbit Island, and an actual Mapua landing with cafés and shops, this is a strong bet. The $93 price makes sense because it bundles the equipment and key transport pieces (shuttle and ferry) that would be a hassle to coordinate on your own.
Just be honest with yourself about self-guided riding. If you’d rather have a live guide steering you around every turn, this won’t be as comforting. If you can handle some rougher sections, follow the map closely, and plan your stops with time in mind, you’ll likely have the kind of day you’ll talk about for a while.
FAQ
Where is the meeting point?
You meet beside the Nelson i-SITE Visitor Information Center.
What time does the tour start?
The start time is 8:35 AM, with the ride beginning after bike fitting and briefing.
How long is the cycling day?
The experience runs for 9 hours.
Is this tour guided by a person while you ride?
No. It is self-guided, so you’ll use the provided trail map and follow the route.
What’s included with the bike and how do I get to the tunnel?
Included items cover cycling equipment such as the comfort bike, helmet, light, repair kit, panniers or a carrier bag, an odometer, and a trail map. You’ll also be transported between Nelson and Spooner’s Tunnel.
Are food, tastings, and alcohol included?
No. Food is available at your own cost, and tastings and alcoholic beverages are not included.